

Введение
Asus известна на рынке благодаря своим компьютерам и ноутбукам, позиционирующим себя, как одни из лучших в своём роде. И это неслучайно: компания радует покупателей разнообразием продуктов от самых дешёвых до премиальных. Получается, что каждый сможет найти устройство «по карману». Asus выпускает не только ПК и ноуты, но и планшеты-трансформеры, которые сочетают в себе компактность планшетного компьютера и возможности полноценного ноутбука.
Разбираемся, как прошить Asus Zenfone
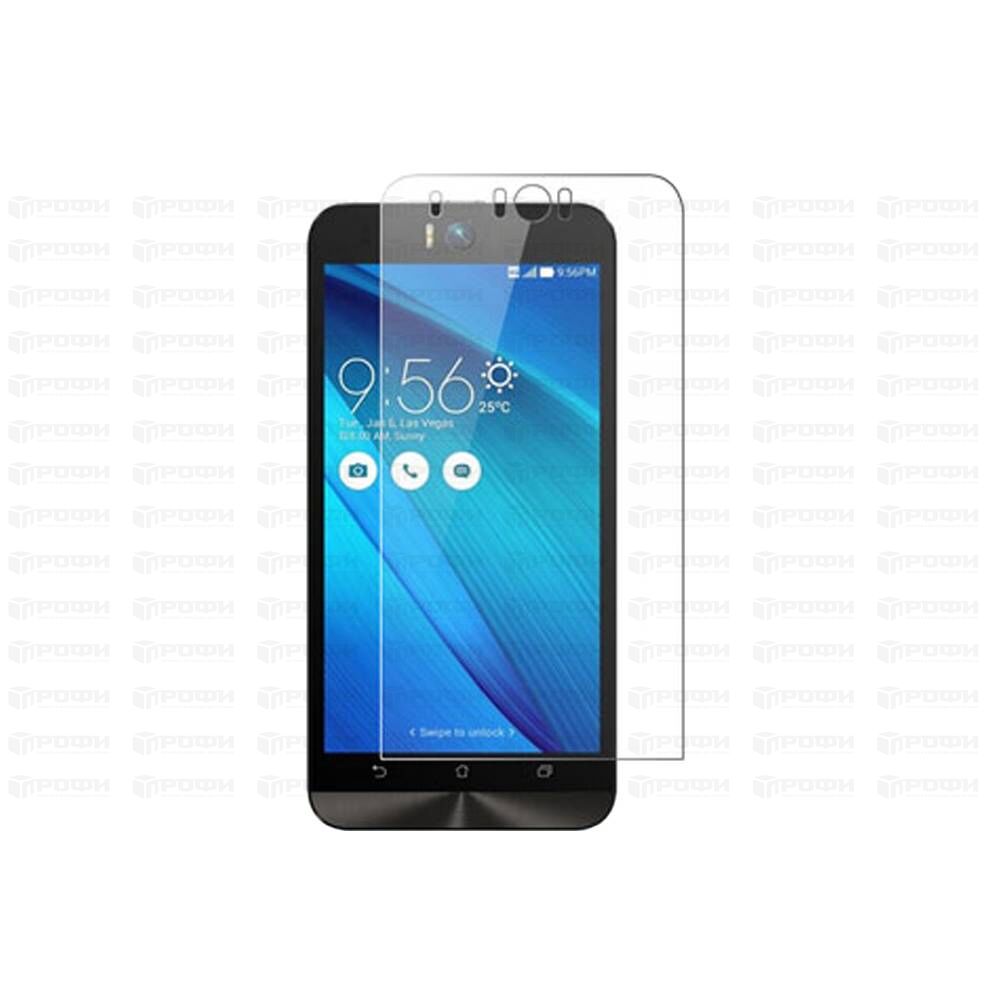
Помимо «настольных» устройств, Asus предлагает пользователям также смартфоны. Одной из наиболее успешных линеек компании является Zenfone. Работают они под управлением операционной системы от Google — Android, но с фирменной оболочкой от Асус. Как известно, версию ОС можно практически всегда изменить. Поэтому сегодня мы поговорим о том, как прошить или перепрошить Асус Зенфон.
Root права
При желании получить root доступ, можете воспользоваться универсальной программой Rookthp Pro 3.2, качаем здесь. Инстурукцию по использованию программы можно найти тут. А также из универсальных можем посоветовать ZYKUroot версии 2.2. Узнать информацию о нём можно на zykuroot.info Про более популярные программы и говорить не будем, тот же Kingo и Framaroot всегда на слуху, хоть и немного сдают позиции
Небольшое обновление статьи от 8 марта 2022:
Данная информация касательно быстрой перепрошивки и разблокировки бутлоадера через универсальный софт, а также посвящено ускорению мобильных устройств, в том числе и старых. Кстати, главный момент в том что разблокировка загрузчика возможна только с помощью компьютера и никак иначе в данный момент сделать нельзя. Конечно найдутся люди, которые скажут что мол есть APK приложение, но они либо плохо разбираются в теме, либо врут в свою пользу, поэтому будьте внимательны. Необходимо знать что разблокировка загрузчика возможность только через компьютер и не возможна через .apk приложения, как бы там не выдумывали некоторые авторы на сайтах.
FAQ простыми словами:
Что такое загрузчик? Загрузчик несёт ответственность за запуск и загрузку операционной системы, а также за Recovery Menu. То есть является очень важным элементом.
Зачем разблокировать загрузчик?
- Установка кастомных Recovery
- Патчи и обновления операционки.
- Резервное копирование системы и другие возможности
Теряется ли гарантия при разблокировке загрузчика?
Нет, если телефон в рабочем состоянии.
ОТА обновления после разблокировки будут работать?
Попробуйте использовать старый USB 2.0, вместо USB 3, обычно это решает проблему, в чём причина неизвестно.
Здесь рассказываем как установить Android 10 Q на Asus Zenfone Selfie ZD551KL, точнее как до него обновиться. Рекомендуем воспользоваться инструкцией из этой статьи чтобы обновление прошло легко и гладко.
How to backup Asus Zenfone Selfie ZD551KL Dump File?
- If you have an EasyJTAG or Ufi box, you may create a dump file backup for your data. It would help if you opened your smartphone to back up the dump file. It needs to be connected to EasyJTAG or Ufi box via ISP pinout. You will need to back up the read dump file via EasyJTAG or Ufi box and EMMC tool.
What is ISP Pinout?
- In-System Programming (ISP) is an abbreviation of the term.” In-System Programming (ISP) enables communication with a target chip without removing it. The primary benefit of this technology is connecting with a target chip, UFS, or eMMc without going via the CPU. However, it takes excellent soldering abilities to be effective compared to JTAG data extraction speed. When it comes to forensics, ISP refers to the process of connecting to a UFS or eMCP flash memory chip to obtain the entire contents of the device’s memory contents.
- Asus Zenfone Selfie ZD551KL Service and Repair Dead booting, flashing, removing FRP lock, or any other brand phone you need are all possible. EasyJTAG Plus is the only box on the market that supports the UFS and eMMC chip, making it a unique product.
What Is eMMC Chip?
- Embedded Multi-Media Controller is known as EMMC. It is a high-speed storage medium and controller module integrated into a single chip. Indeed, the EMMC technology is very new; before, utilizing the EMMC needed a dedicated controller for reading and writing data controlled by the CPU and kept in a single location, detracting from the CPU’s speed. The potential of unlimited storage will diminish throughout its growth, and once it is exhausted, its performance will deteriorate.
What Is UFS Chip?
- Universal Flash Storage (UFS) is a modern, high-performance interface developed for computer and mobile devices such as smartphones and tablets. It must keep power consumption to an absolute bare minimum.
- The main advantages of the eUFS/UFS Card over the previous signaling architecture-based eMMC/SD cards are the fast speeds and low power consumption of the serial interface, and its excellent dependability.
- Smartphone has experienced increased acceptance in the mobile industry due to the excellent performance and dependability of the UFS. As the industry’s storage demands rise, smartphones will continue to meet those needs by delivering a choice of sophisticated UFS lineups while also more comprehensively addressing the ever-increasing need for cutting-edge memory solutions in other market areas.
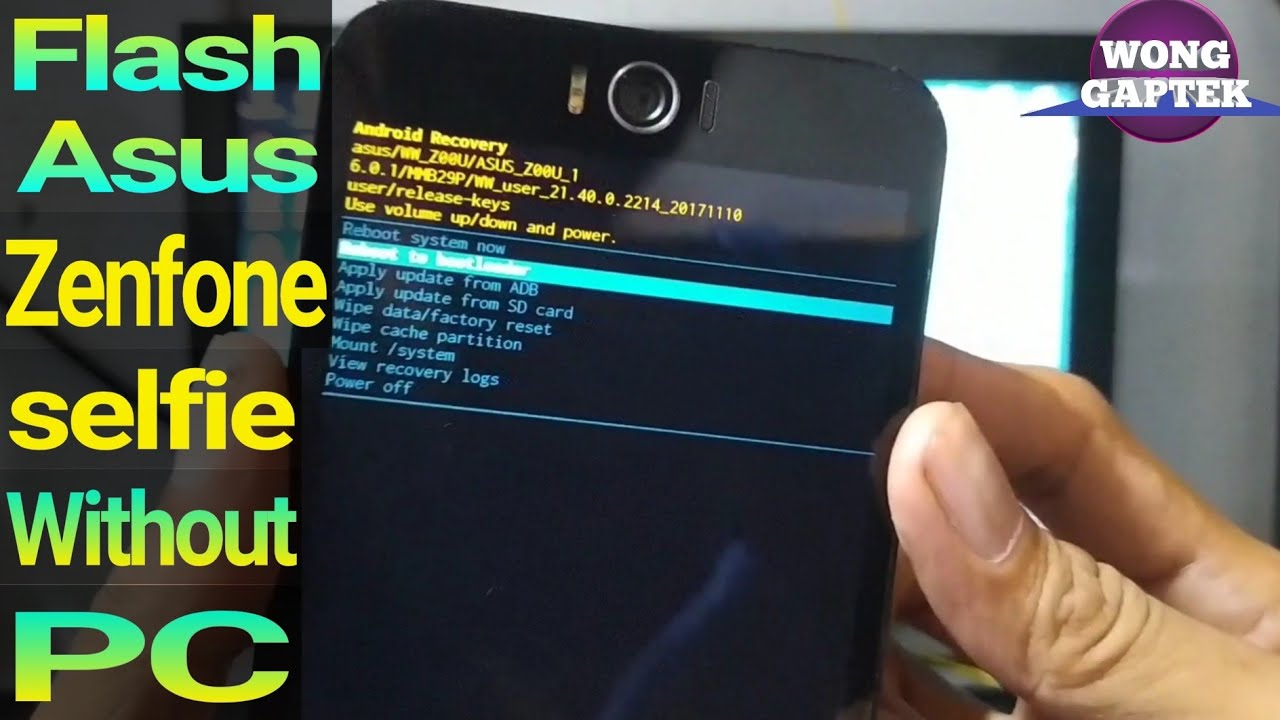
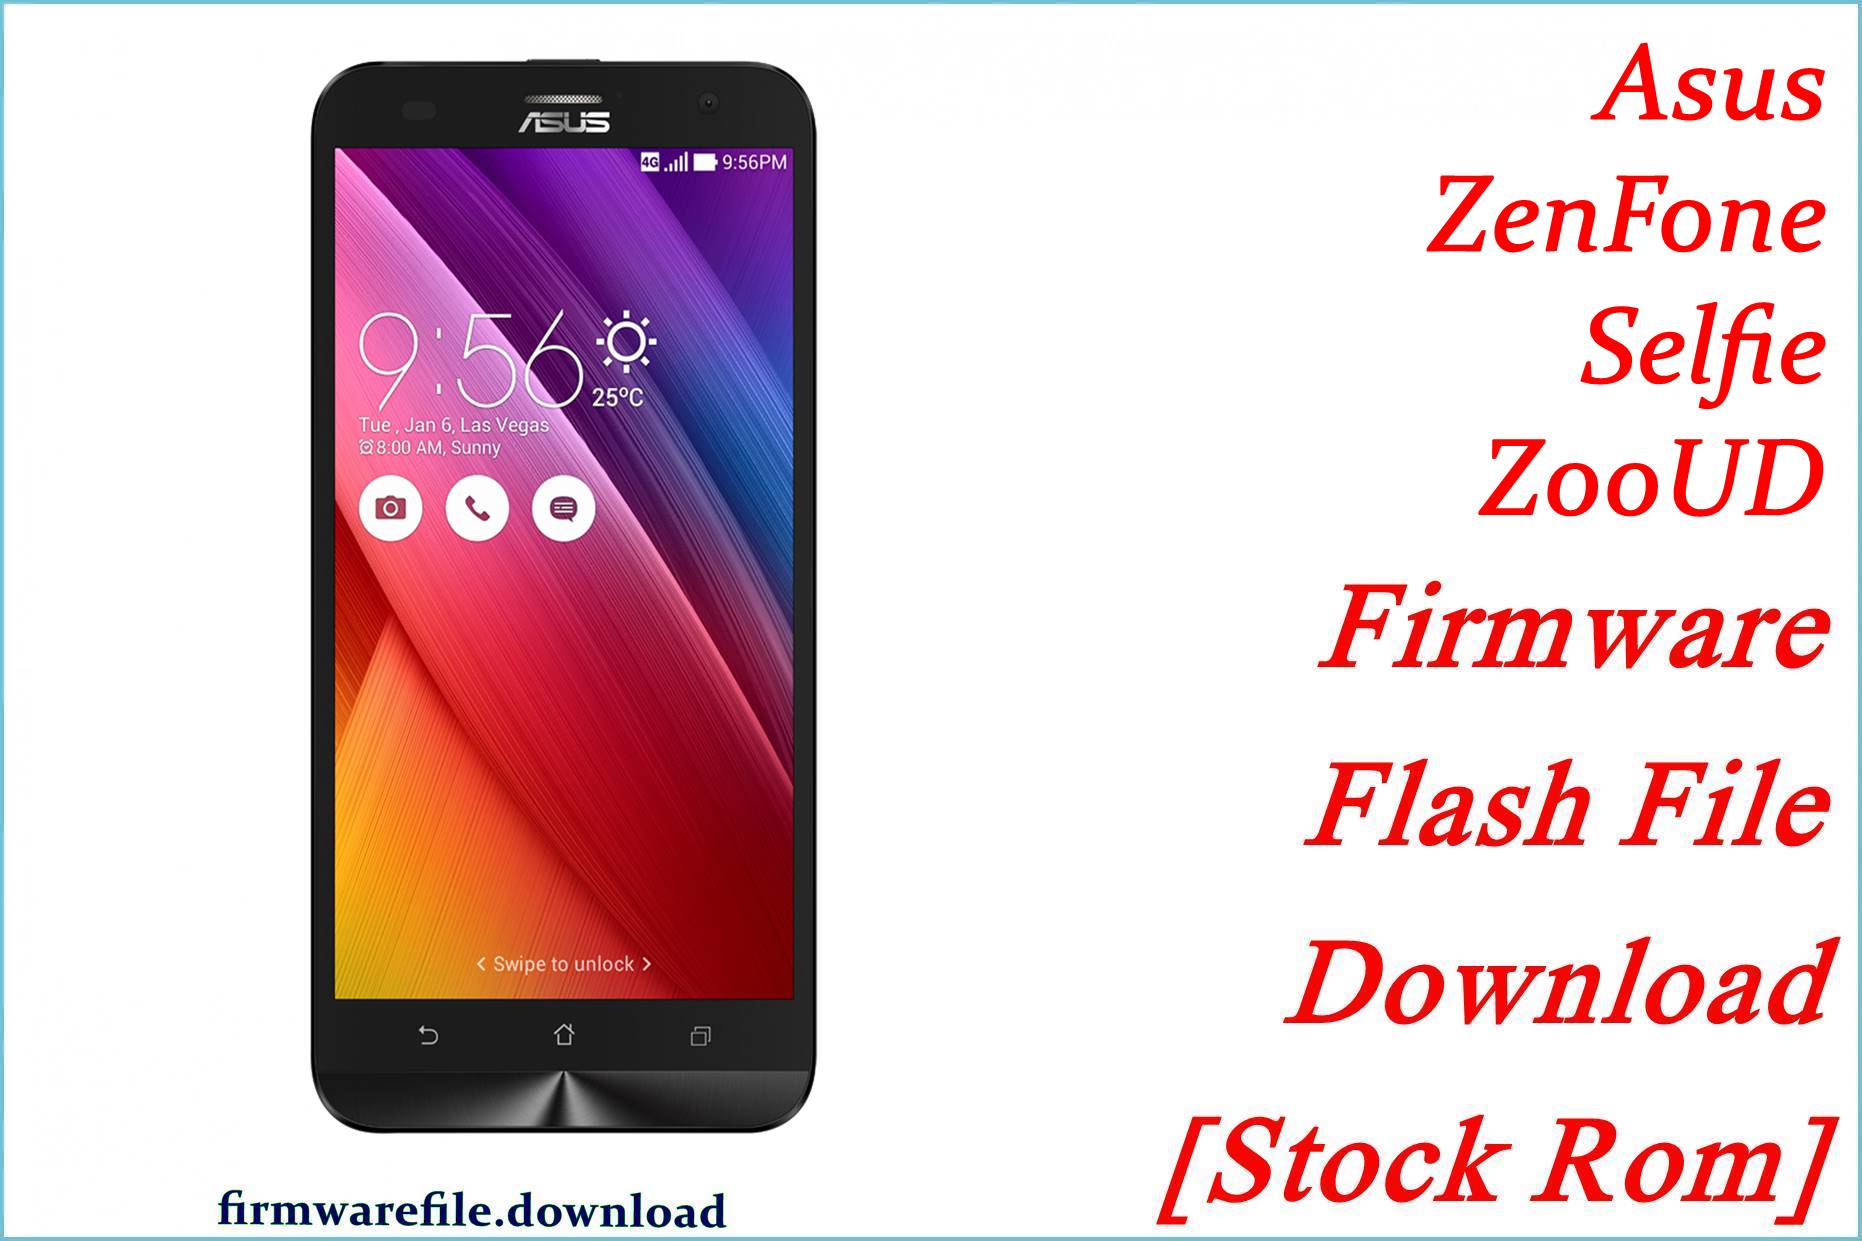
Как прошить Asus Zenfone Selfie (ZD551KL)
Прошивка поставляется в zip-архиве, который содержит Flash-файл, Flash Tool, USB-драйвер и руководство по прошивке, а также пошаговые инструкции по прошивке Stock ROM на смартфоне с помощью компьютера с Windows.
Полное руководство
Указать на заметку-
Прошивка — это операционная система, которая помогает вам перемещаться по вашему смартфону
Между тем, он включает в себя все UI/UX с другой важной функциональностью. Кроме того, он используется для управления вашим устройством, оснащенным аппаратным обеспечением, а также прошивкой для мобильных устройств, обычно известной как флэш-память, которая устанавливается в память вашего устройства
В этом случае ПЗУ называется прошивкой телефона. Это не что иное, как операционная система. Пользователи телефона могут устанавливать пользовательские ПЗУ.
Stock ROM/Firmware — это официальное программное обеспечение, разработанное производителем для конкретного устройства. Истинно стандартное ПЗУ — это один тип, который не претерпевает никаких косметических/функциональных изменений в коде производителем оборудования. Кроме того, при покупке на телефон или планшет устанавливается «стандартное ПЗУ», указанное производителем устройства. Таким образом, Stock Rom не подвергается никаким модификациям, которые выполняются в пользовательском ROM.
Мы благодарим Asus Firmware за предоставленный файл прошивки.
В чем преимущество стандартной прошивки?
- Это поможет вам решить проблему с Bootloop и разблокировать ваше устройство.
- Это заставляет программное обеспечение вашего устройства работать на новейшем доступном программном обеспечении, даже позволяя вам понизить версию Asus ZenFone Selfie ZD551KL.
- Восстановить свою гарантию, если мы снова вернемся к Stock
- Устранение проблем с программным обеспечением, заиканий и зависаний на Asus ZenFone Selfie ZD551KL
Примечание. После извлечения загруженного стокового ПЗУ вы можете получить файл микропрограммы, Flash Tool, драйвер и руководство по использованию Flash.


Asus Zenfone Selfie ZD551KL got stuck at boot after uninstalling Magisk from app
Q: I installed Magisk via TWRP(Temp version) and installed some modules. Thereafter, I decided to uninstall Magisk using the Magisk Manager APK. Then the phone rebooted and stuck into the phone logo with the red danger logo. I tried flashing Magisk again via Temp TWRP, but now a few apps keep crashing. I tried uninstalling and reinstalling them. But couldn’t fix it. Can you help me?
A: If your phone is stuck in the boot loop or apps still crashing, then you have to wipe the Dalvik cache again. If you still need to unroot for whatever reason you can try this:
- update magisk first and then clicking uninstall from Magisk manager.
- manually flash uninstaller.zip from TWRP.
- flash the uninstaller as a module as stated in post.
- Finally if it’s still no use, then you can factory reset the device to remove the root.
How to Root Asus Zenfone Selfie ZD551KL using Magisk Patched Boot.img
To simplify the instructions I have listed them under separate sections. The only thing you have to do is to follow the exact steps without skipping a single one. And please keep in mind that won’t take responsibility if anything happens to your phone and its data. Read More – The First 10 Things to Do After Rooting your Device
Step 1 : Install Android SDK

Firstly you need to install the Android SDK Platform Tools on your PC. As some of you are already aware this is the recommended official ADB and Fastboot binary given by Google. Just download it and extract it to any convenient location on your PC. Then you will have the platform-tools folder, which is essential for the process.
Step 2 : Enable USB Debugging and OEM Unlocking on Asus Zenfone Selfie ZD551KL
Then you should enable USB Debugging and OEM Unlocking on your Asus Zenfone Selfie ZD551KL. By unlocking OEM, you will be able to make your phone discoverable by the PC in ADB mode. And then allowing you to boot your device to Fastboot Mode.
Here’s how you gonna do that. : Enable USB Debugging and OEM Unlocking
Step 3 : Unlock Asus Zenfone Selfie ZD551KL Bootloader
As the third step, you need to unlock the bootloader of the phone. Don’t ever forget that unlocking will wipe all the device data. So, perform a complete backup beforehand and then refer to our guide on How to Unlock the Bootloader on Asus Zenfone Selfie ZD551KL.
Unlock the Bootloader on Asus Zenfone Selfie ZD551KL
Step 4 : Extract Boot.img from Asus Zenfone Selfie ZD551KL Firmware
Then you have to download the firmware for your Asus Zenfone Selfie ZD551KL. You have to download the same version that is currently installed onto your device. After downloading, extract the file to a suitable location on your PC.
Now go to the extracted Firmware folder and see whether you can see the boot.img file. Just transfer this file to your phone and follow me.

Still Can’t found boot.img or Don’t know how to find?
How to Extract Boot.img from Asus Zenfone Selfie ZD551KL
Step 5 : Patch Stock Boot.img via Magisk
- Firstly install the Magisk app to your phone. Read More: Everything about Magisk
- And confirm whether the boot.img has been transferred to the device.
- Now tap on Install button. (see below image)
- In the Options menu, enable both the Preserve Force Encryption and Recovery Mode options.
- Then tap Next.
- You will be navigated to the Method selection screen. Now choose Select and Patch a file.
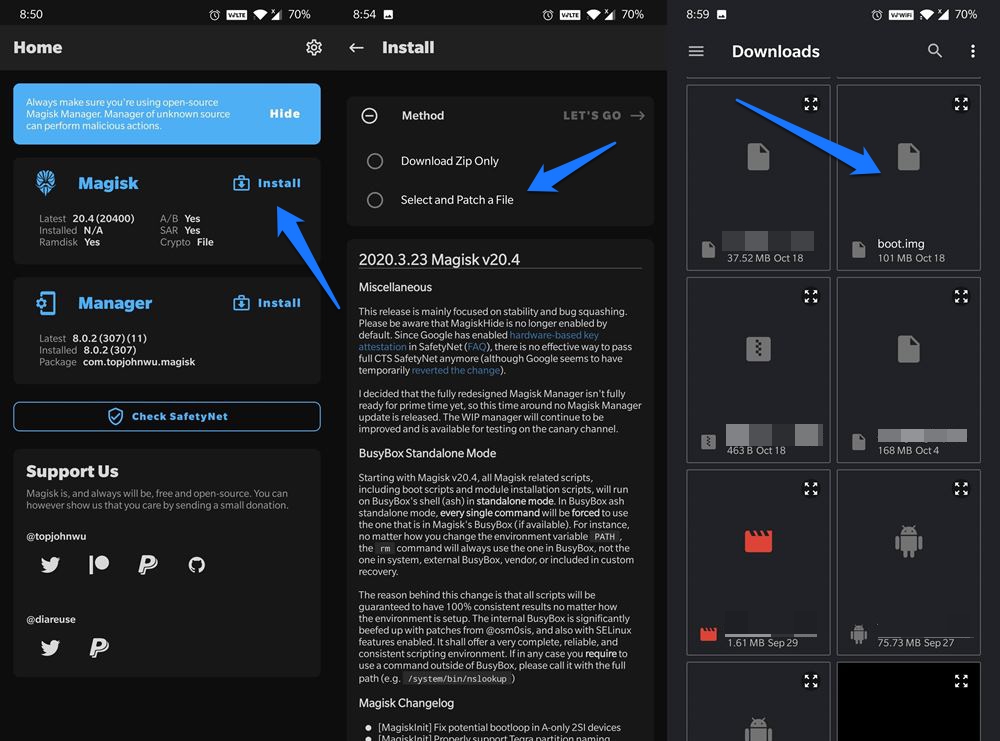
- As the next step, browse to the extracted boot.img file and select it.
- And tap in the Let’s Go button and Magisk will now load the boot.img file and start patching.
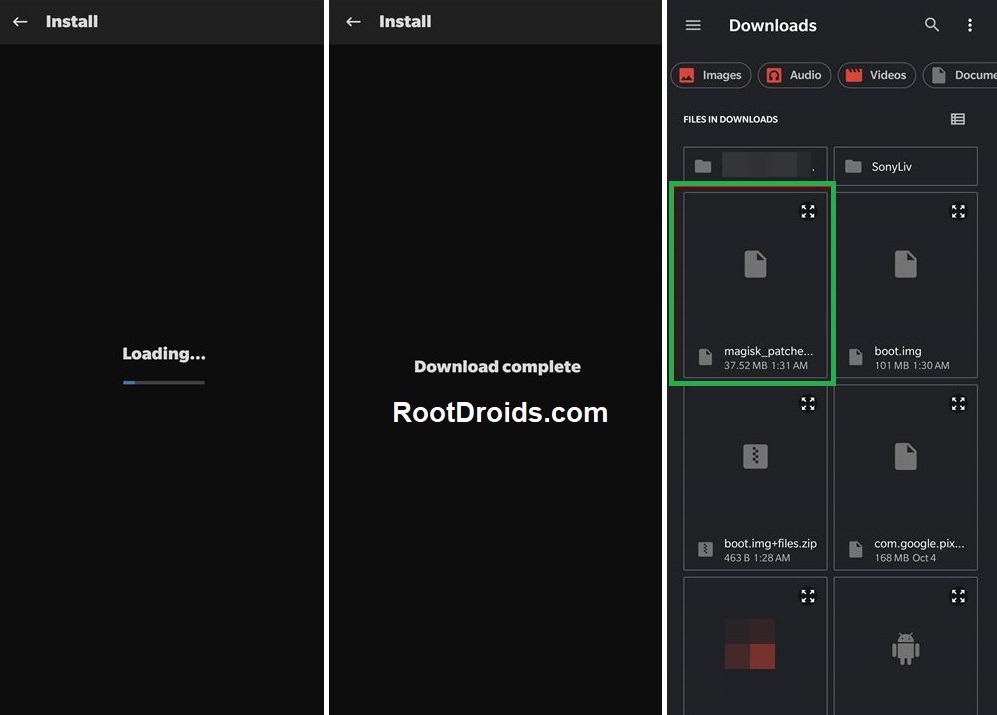
- You will see a message saying Download Complete once the patching is done.
- Then the patched patched boot image file will be saved as magisk_patched.img in Internal Storage > Downloads.
- You can rename the file by deleting the random numbers at the end of the name. So the file will be named as magisk_patched.img.
- Finally transfer the file to the internal storage of your device for future use.
Step 6 : Boot to Fastboot Mode on Asus Zenfone Selfie ZD551KL
- Enable USB Debugging and connect your device to the PC using a USB cable.
- Now go to the platform-tools folder, type CMD in the address bar and press Enter. or Search CMD and open it. after that, navigate to the platform-tools folder
That will launch the Command Prompt.
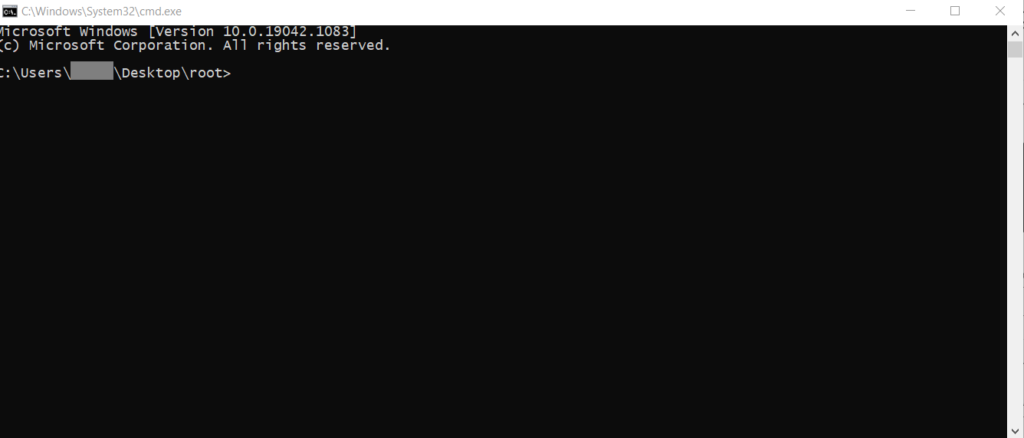
Then type the following command in the CMD window to boot your device to Fast boot mode.
To verify the connection, type in the below command. You should get the device ID followed by the Fastboot keyword. if you get a reply from the command prompt, its means, the connection has been successfully established.
Disable DM Verity: Only if you have a problem with performing step 7.
Step 7Flash Magisk Patched Boot.img and Root Asus Zenfone Selfie ZD551KL
- First transfer the magisk_patched.img file to the platform-tools folder.
- Then type the following command in the CMD window to flash the Magisk Patched file.
Finally enter the following command to reboot your device to the OEM.
Now, you have successfully rooted your device.
What is the Asus Zenfone Selfie ZD551KL Dump File?
- Asus Zenfone Selfie ZD551KL EMMC Dump file Mobile Flash File is essential for adequately managing EMMC partitions. Asus Zenfone Selfie ZD551KL dump is an OS that helps you to run a smartphone. The dump file is needed to revive your dead smartphone. A cell is a section of a storage device, such as an EMMC or solid-state drive. The operating system treats it as a separate logical volume, which functions similarly to a different physical device.
- Dump File is a kind of software used to repair the EMMC of dead and bricked smartphones. If any smartphone flashes from the incorrect file, When a flashing problem occurs for whatever reason, With the dump file, the phone aids in the recovery of the dead boot. Flashing a dump file requires extreme caution. The only Tool that will work is the EMMC tool.
List of Custom ROMs for Asus ZenFone Selfie (ZD551KL) Z00U 1
It’s fair to say that the golden age of custom ROMs has passed. Android phones are better than they’ve ever been, even at the end of the market.


You own an Asus Z00UD Z00U 1, but the same old UI starts to bore you. Well, it’s time to enter the field of custom ROMs. One of the best ways to resolve OEM delays and add a lot of new features to Android devices is to install a custom ROM.
As Android OS is open source, the enthusiastic community can always use their own version, which is why there are so many versions. Flashing the custom ROM requires you to unlock the bootloader and install a custom recovery on your Asus ZenFone Selfie (ZD551KL) Z00UD Z00U 1.
Is it required to install the Asus Zenfone Selfie ZD551KL Dump file?
- 1. A windows pc or laptop.2. Need Ufi or EasyJTAG Plus Box.3. With BGA socket BGA221 / BGA254 or ISP Adapter.4. Install USB driver.5. Asus Zenfone Selfie ZD551KL dump file.
How to flash Asus Zenfone Selfie ZD551KL Dump into IC eMMC or UFS?
- Although the eMMC or UFS is a new technology, there are still shortcomings. The data stored could be damaged (missing) when we have to fill it out again. There are numerous methods for recharging the EMMC or UFS IC data.
- 1. Via the JTAG method.
- 2. VGA Socket
- 3. Through the default vendor of standard software.
- 4. By gaining direct access to the IC EMMC or UFS Direct.
How to use dump files?
-
1. Download the Asus Zenfone Selfie ZD551KL dump file to your computer.2. Extract the Asus Zenfone Selfie ZD551KL dump file on your computer’s drive.3. Download and Install the USB driver.4. Open eMMC ToolBox Ufi or EasyJTAG Plus Box.5. Connect your EMMC BGA socket BGA221 / BGA254 or ISP Adapter to the board through the USB port.6. Click On the identity EMMC batten and identity your device.
Select.>ext_csd>userarea>boot1>boot2>rpmb7. Now, Click the write button start flashing8. Wait for the process to finish, and please do not unplug your device before completing the process.
Инструкция как обновить Asus Zenfone Selfie ZD551KL до Android 10Q / 11
Не теряйте время ставьте на закачку архив с программным обеспечением, файлами прошивки и инструкцией, далее мы расскажем что и как работает.
Всё структурировано для удобного использования:
- На скрине вы видите папку Readme, в ней лежит пошаговая инструкция update_Android10.txt;
- В директории Soft находятся необходимые для прошивки смартфона программы;
- Директория Firmware содержит все файлы прошивки;
При желании можно установить и старые версии Андроида, скачать их можно ниже:
- Pie 9.0. URL: yourtopfile.info/android9pie
- 8 Oreo. URL: yourtopfile.info/android8oreo
- 7 Nougat. URL: yourtopfile.info/android7nougat
- 6 Marshmallow. URL: yourtopfile.info/android6
- Android 10 Q 2019. URL: yourtopfile.info/android10
- Android 11 2020. URL: yourtopfile.info/android11
How to flash Asus ZenFone Selfie ZD551KL WW?
Why reinstall the firmware?
Errors periodically appear in the Android operating system.Some installed applications stop opening.Many programs from the Play Market do not start.The phone restarts for no reason.The phone began to work slowly.You have decided to try a different version of Android.Where can I find the firmware?
On the phone manufacturer’s website.On specialized services on which developers lay out custom or official OS.What should be done before installing the firmware?
Back up your phone’s user data.Insert your SD card into your phone. It must have enough memory to fit the firmware.Find out the exact model of your smartphone.Fully charge your phone. If the battery runs out during boot, the device will no longer turn on.Download the archive with Firmware and place it on the SD card.Installing TWRP Recovery
Download the Official TWRP App from the Play Market. And install it.When you start the application for the first time, you must agree to install a new firmware and all the risks associated with this, as well as agree to grant the application Superuser rights and click the ‘OK‘ button.Going to the next screen, select the item ‘TWRP FLASH‘ and provide the application with root-rights.
On the main screen of the application, click on the ‘Select Device‘ drop-down list, and select your phone model.After selecting a device, the program redirects the user to a web page to download the corresponding image file of the modified recovery environment. Download the suggested *.img file.When the file is loaded, return to the main screen of the Official TWRP App and press the ‘Select a file to flash‘ button. Select the file downloaded in the previous step.Click the ‘FLASH TO RECOVERY‘ button and confirm your choice, click ‘OK‘ in the question window.When the message ‘Flash Completed Succsessfuly!‘ appears on the screen. Click the ‘OK‘ button. The TWRP installation procedure is now complete.Write the firmware and other necessary files to the SD card. Using a PC or laptop card reader, it will be much faster.Insert a memory card into the phone.To reboot into recovery, you need to use a special item in the Official TWRP App menu, accessible by pressing the button with three stripes in the upper left corner of the main screen of the application. Open the menu and select the ‘Reboot’ item, and then click on the ‘REBOOT RECOVERY‘ button.Firmware via TWRP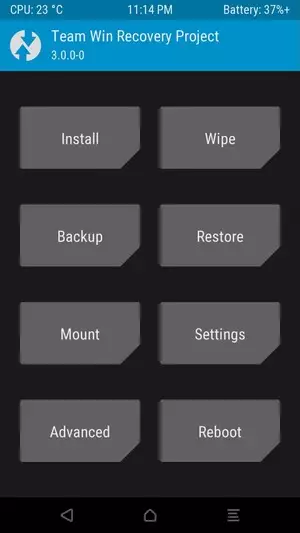
Before flashing, it is recommended to clear the ‘Cache’ and ‘Data’ sections. This will delete all user data from the device, but avoid a wide range of software errors and other problems. You must press ‘WIPE‘ on the main screen.Press the ‘Install‘ button to start the flashing.
The file selection screen appears. At the very top there is a ‘Storage‘ button for selecting an SD card.Select the location where you copied the files. Press the ‘OK‘ button.
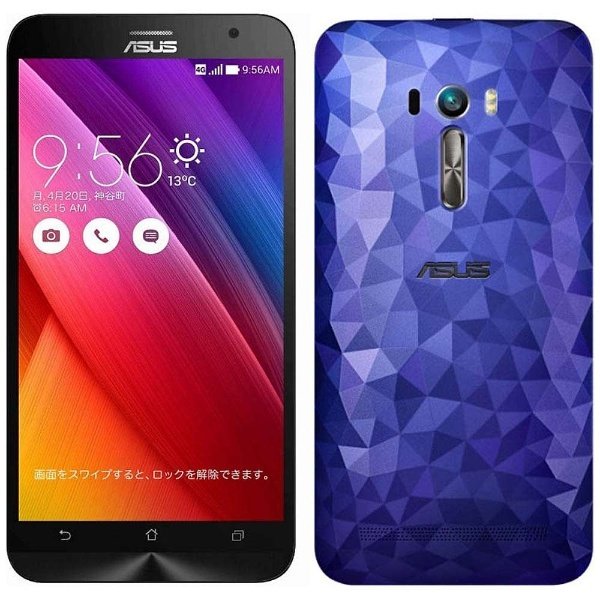
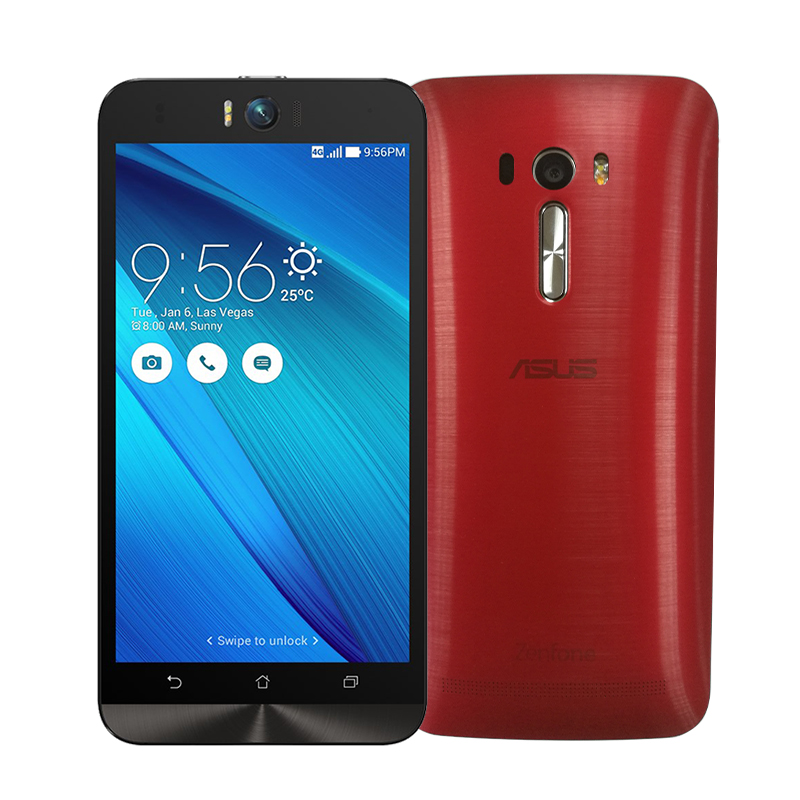
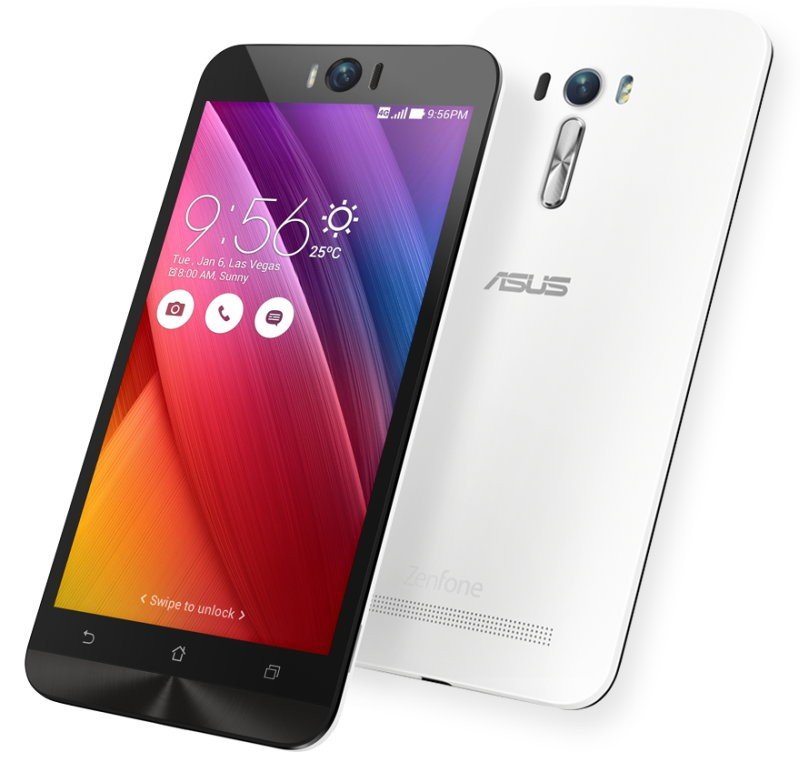
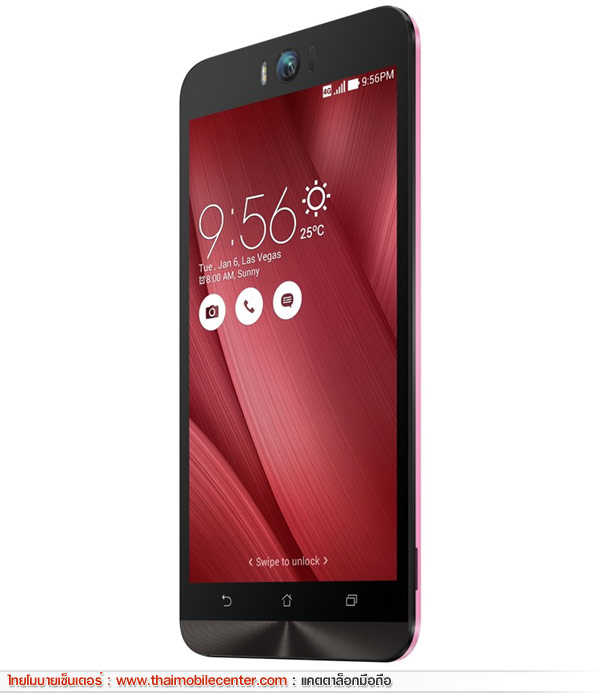
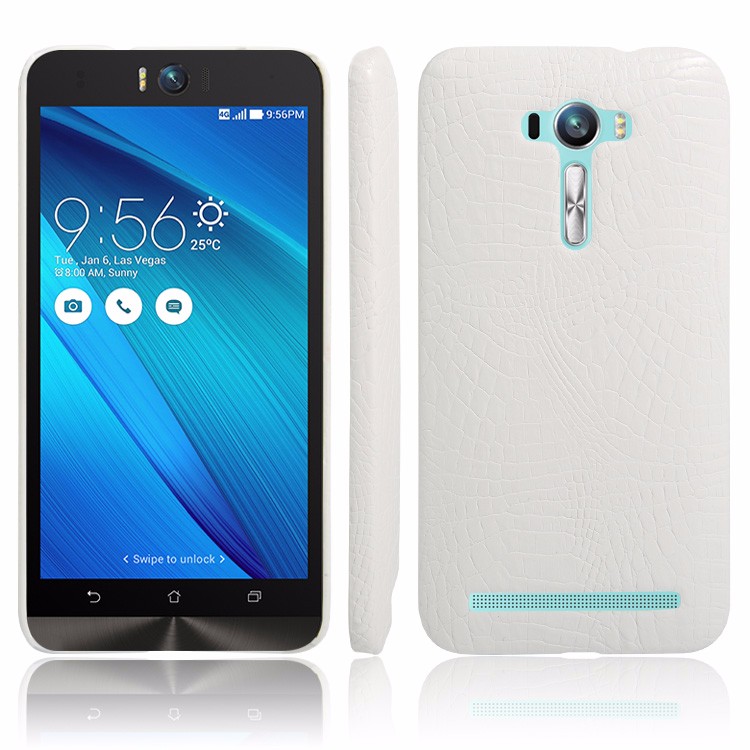
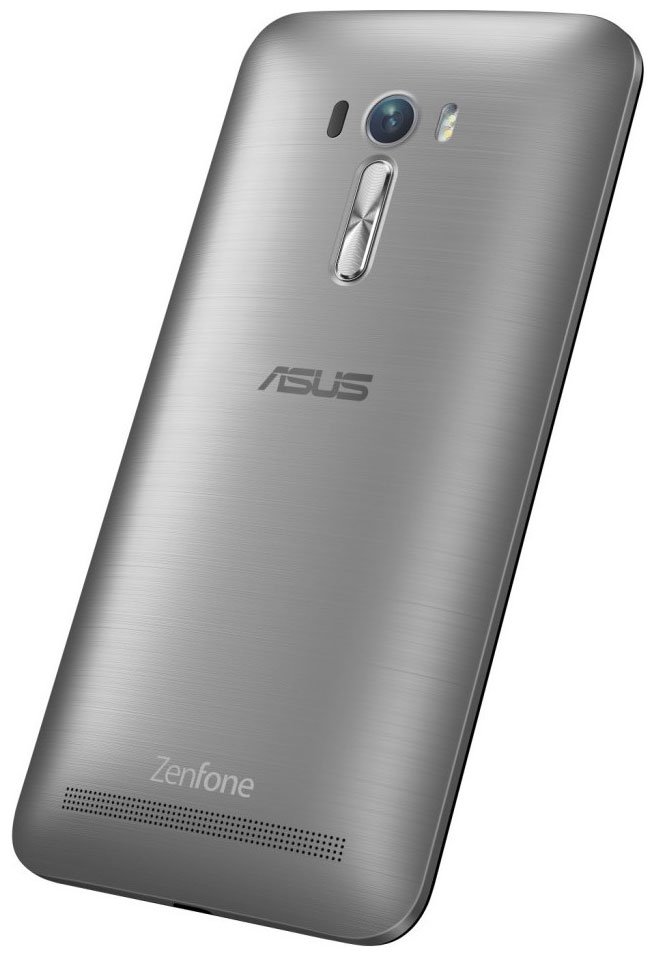
Select the firmware file and click on it. A screen opens with a warning about possible negative consequences, as well as the item ‘Zip signature verification‘. This item should be checked by placing a cross in the check-box, which will avoid using damaged files when writing to the phone’s memory sections.The procedure for writing files to the phone’s memory will begin, accompanied by logging and filling in the progress bar.After completing the installation procedure, a ‘Successful‘ message appears on the screen.Summary: Size: 77.2 mm x 156.5 mm x 10.8 mm; Aspect Ratio: 16: 9; Weight: 170 g; Usable surface: 69 %; Materials: Plastic; Colors: Blue Gold Gray Pink Red White; Origami: Print 3D Model; Diagonal: 5.5″; Screen Type: LCD IPS; Screen Resolution: 1080 x 1920 px (FHD); Density: Very high density, 401 Pixels per inch differentiable less than 5 cm away; Others: Anti-fingerprint coating, Capacitive, Corning Gorilla Glass 4, Multi-touch, Scratch resistant; Operating System: Android 5.0 Lollipop; Model: Qualcomm Snapdragon 615 MSM8939; CPU: Cortex A53; Type: Octa-Core; Frequency: 1.7 GHz; 64 Bits: Yes; GPU: Qualcomm Adreno 405; RAM: 2 GB; Antutu score: 39.483 Overall performance better t …
What Problem Will Be Solved By Asus ZenFone Selfie ZD551KL Firmware?
You may also have encountered problems when using the Asus ZenFone Selfie ZD551KL: Lack of official language, Touch problem, camera failure problem, Bluetooth problem, battery problem, SIM card problem, WiFi problem not working on Asus ZenFone Selfie ZD551KL, problem not receiving SMS Asus ZenFone Selfie ZD551KL, baseboard problem Asus ZenFone Selfie ZD551KL, internet problem Asus ZenFone Selfie ZD551KL and … for your phone, which can be solved with the official Asus ZenFone Selfie ZD551KL firmware.
In this post, the Asus gsmdroid.net team decided to prepare the official Asus ZenFone Selfie ZD551KL firmware to fix such errors and other errors that occur for the Asus phone. It should be noted that the official Asus ZenFone Selfie ZD551KL flash file is the latest build Released by Asus for the Asus ZenFone Selfie ZD551KL.
On Asus ZenFone Selfie ZD551KL, you can go to Settings> About Device> Build Number in the settings section to view the build number and device.
The officialAsus ZenFone Selfie ZD551KL firmware does not have any manipulation and there are no problems with stopping various processes and services in this firmware. If there is an update, you will be able to receive updates from within your ROM, which you can update without losing your data.
Что нужно знать пользователю перед прошивкой?
Прежде чем приступить к самому процессу перепрошивки любому пользователю (даже опытному) лучше всего пройти некий инструктаж для безопасности. Всегда сначала лучше перестраховаться, чем потом кусать локти и ругать себя за то, что телефон сломался. Итак, что же нужно знать перед прошивкой устройства Асус Зенфон?
- Прежде всего запомните, что все действия выполняются на свой страх и риск. Каждый случай перепрошивки индивидуален и охватить все аспекты просто невозможно. Конечно, такая ситуация не касается устройств на iOS. У них с этим всё намного проще: подключил к iTunes — и жизнь удалась!
- При подключении к персональному компьютеру используйте только оригинальные комплектующие (USB-кабель).
- Зарядите аппарат минимум до 70 процентов, чтобы избежать непредвиденной остановки работы аккумулятора. А это может произойти в самый неподходящий момент.
- При скачивании файлов из интернета используйте соединение без ограничения по трафику. Иначе вам может прийти неприятный счёт на оплату услуг. Если вы не знаете, какой у вас тариф, то рекомендуется обратиться к интернет-провайдеру.
- Если вы собираетесь прошить своё устройство с помощью сторонних утилит стоит помнить, что в этом случае вы лишаетесь гарантийного ремонта от компании. Тогда, в случае поломки, вы будете решать эту проблему за свой счёт.
How-To Flash or Install Asus ZenFone Selfie ZD551KL Firmware (ROM)
- Download and extract the Asus ZenFone Selfie ZD551KL Stock Firmware package on the computer.
- After extracting the package, you will able to get Asus ZenFone Selfie ZD551KL Firmware, FlashTool, and Driver.
- Install the Asus ZenFone Selfie ZD551KL USB Driver (if in case USB driver is already installed, then SKIP this step).
- Follow the How-to (install) Manual to Flash or install the Firmware on your Asus ZenFone Selfie ZD551KL device.
Readme Please:
Backup: We recommend taking a backup of your data from the Asus ZenFone Selfie ZD551KL device, as flashing or installing the ROM using the Flash Tool will permanently delete your data from the device..
From Asus you can download the firmware ROM of all the latest models of the Asus device.Do not use this firmware on any other Asus devices. this stock Firmware fit only for your Asus ZenFone Selfie ZD551KL device. The ROM file on this page is the official ROM file published by the company:
Hopefully, We believe that you have now able to Download Asus ZenFone Selfie ZD551KL Flash File Firmware | Software Update. Thanks for being with us, We would like to know your valuable opinion and feedback if there is any query share with us in the comment section down below. Stay tuned for further updates in the future on the same.
Как получить root права
В сфере получения root прав есть две универсальные программы, (универсальные потому что поддерживают очень много устройств), получающие root за 1 клик, это ZYKURoot 2.2 – (сайт zykuroot.info), может версия есть и более новая, это на сайте надо смотреть
И Rootkhp Pro 2.6 – (с сайта Руткхп про). Версия также может быть не самая последняя, надо просматривать их сайт.
Инструкции к ним в общем то и не нужны, всё как обычно, подсоединяем телефон к компьютеру и нажимаем Root. Дальше сидим и ждём что скажет программа.
-
Snapi imaging interface driver что это
-
Не заполнено наименование подтверждающего документа в реестре фсс в 1с
-
Led40d2700b прошивка через usb
-
Asus rog strix rx 5700 bios прошивка
- Пакетное сохранение в фотошопе для веб
Install LineageOS on Z00T
Basic requirements
Important: Please read through the instructions at least once before actually following them, so as to avoid any problems due to any missed steps!
- Make sure your computer has and . Setup instructions can be found here.
- Enable on your device.
Unlocking the bootloader
Note: The steps below only need to be run once per device.
-
Download the bootloader unlock app for your device:
- Navigate to ASUS’ support site and go to your device’s page by entering its model number.
- Click Driver & Tools.
- Select Android from the drop-down menu.
- Open the Utilities section.
- Download the Unlock Device App.
- If the downloaded file is packaged in a archive, extract it.
- Connect the device to your PC via USB.
- On the computer, open a command prompt (on Windows) or terminal (on Linux or macOS) window and change to the location where the Unlock Device App resides.
-
Install the by typing:
For example, on the ZE551ML device, it would be adb install UnlockApp_ze551ml_20150723.apk.
-
-
Run the application Unlock Device Tool from the device and agree to the terms.
Note: After you agree to the terms, the ASUS unlock app might ask you to login with your Google account. If your password does not work, then you need to enable temporary access for less secure apps here. If you have two-factor authentication enabled on your Google account, you will have to generate an individual app password on the Google accounts settings website, as the unlock app does not natively support two-factor.
- Press the button to unlock your device.
- The device should automatically reboot into bootloader mode and the message should be displayed. The device will then reboot and load Android.

Installing a custom recovery using
-
Download a custom recovery – you can download TWRP. Simply download the latest recovery file, named something like .
- Connect your device to your PC via USB.
-
On the computer, open a command prompt (on Windows) or terminal (on Linux or macOS) window, and type:
You can also boot into fastboot mode via a key combination:
With the device powered off, hold Volume Up + Power.
-
Once the device is in fastboot mode, verify your PC finds it by typing:
Tip: If you see while on Linux or macOS, try running as root.
-
Flash recovery onto your device:
Tip: The file may not be named identically to what stands in this command, so adjust accordingly.
Tip: Some devices have buggy USB support while in bootloader mode, if you see hanging with no output when using commands such as , , you may want to try a different USB port (preferably a USB Type-A 2.0 one) or a USB hub.
- Now reboot into recovery to verify the installation:
Alternatively, on some devices and recoveries you can use fastboot to boot directly into the freshly flashed or any other desired recovery:
Tip: The file may not be named identically to what stands in this command, so adjust accordingly.
Installing LineageOS from recovery
- a LineageOS installation package.
- If you are not in recovery, reboot into recovery:
- Now tap Wipe.
- Now tap Format Data and continue with the formatting process. This will remove encryption and delete all files stored in the internal storage.
- Return to the previous menu and tap Advanced Wipe, then select the Cache and System partitions and then Swipe to Wipe.
- Sideload the LineageOS package:
- On the device, select “Advanced”, “ADB Sideload”, then swipe to begin sideload.
- On the host machine, sideload the package using:
-
(Optionally): If you want to install any additional add-ons, repeat the sideload steps above for those packages in sequence.
Note: If you want Google Apps on your device, you must follow this step before booting into LineageOS for the first time!
- (Optionally): Root your device by installing LineageOS’ AddonSU, (use the package) or by using any other method you prefer.
- Once you have installed everything successfully, run ‘adb reboot’.
Warning: Depending on which recovery you use, you may be prompted to install additional apps and services.
We strongly advise you to opt out of installing these, as they may cause your device to bootloop,
as well as attempt to access or corrupt your data.